We can include figures in our LaTeX document. These figures can be in the form of graphs, charts, photos, or even diagrams. Proper placement of these figures is crucial for creating professional and cohesive LaTeX document design.
In this article, we will explore the different options available for placing figures in LaTeX and as a bonus, we’ll talk about best practices for creating visually appealing and effective documents.
Using the “figure” environment
In LaTeX, figures are created using the figure environment. This environment will create a container and will allow us to specify the placement of the figure in our document and add a caption to it.
The \includegraphics command inserts the actual image into the document. To use this command, we need the graphicx package. The following code is an example on how to insert a figure in LaTeX using the figure environment:
\documentclass{article}
\usepackage{graphicx}
\usepackage{blindtext}

\begin{document}

\blindtext
\begin{figure}
    \centering
    \includegraphics[width=\linewidth]{image.jpg}
    \caption{Photo by Michael Pointner from Pexels.}
\end{figure}

\end{document}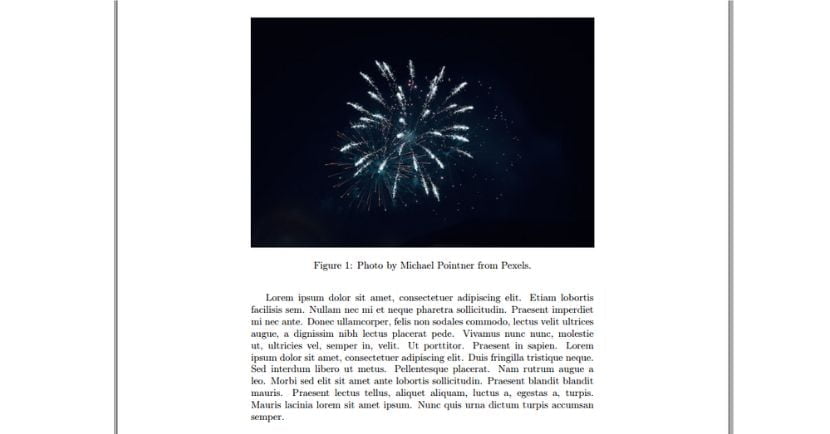
In LaTeX, the default alignment for images and tables is set to left. The \centering command will change that.
The width parameter determines the width of the image, which in this case, is currently set as equal to the width of the current line using the \linewidth command. We can also use other LaTeX default lengths like \textwidth, \columnsep, \textheight, \paperheight, etc. See the reference guide for more description of these units.
We can also specify a fixed width in inches or centimeters using the width=xin or width=xcm syntax as shown below:
\includegraphics[width=3in]{image.jpg}
\includegraphics[width=5cm, height=4cm]{image.jpg}
\includegraphics[scale=0.5]{image.jpg}
We can also use other image file formats, such as JPG or PDF, by changing the extension of the file name.
Figure placement options in LaTeX
Notice that in the above example, the image got inserted before our text even though in our code, the text comes first. To fix that, we need to tell LaTeX to insert the image “here”. Here’s the modified version of our code:
\documentclass{article}
\usepackage{graphicx}
\usepackage{blindtext}

\begin{document}

\blindtext
\begin{figure}[h]
    \centering
    \includegraphics[width=\linewidth]{image.jpg}
    \caption{Photo by Michael Pointner from Pexels.}
\end{figure}

\end{document}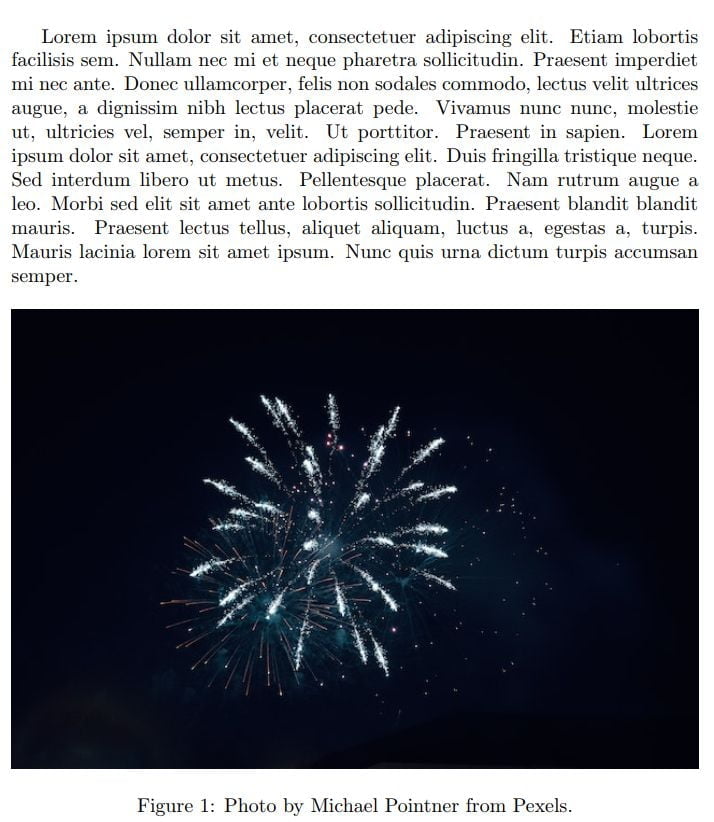
The h parameter (Line #8) tells LaTex to insert the image “here”. The table below are the other placement specifiers that will allow us to have control over the location of the figure in the text.
| Specifier | Permission |
|---|---|
h | Place the float here, i.e., approximately at the same point it occurs in the source text (however, not exactly at the spot). Option for placing a figure at the current position in the document. |
t | Position at the top of the page. |
b | Position at the bottom of the page. |
p | Put on a special page for floats only. Option for placing a figure on a page of its own. |
! | Override internal parameters LaTeX uses for determining “good” float positions. |
H | Places the float at precisely the location in the LaTeX code. Requires float package. |
Using the “float” package
The float package is a LaTeX package that provides additional options for controlling the placement of floats, such as figures and tables. Floats are elements that are placed within a document but are “floated” to a specific location, such as the top or bottom of a page.
To use the “float” package, we will need to include it in our document using the following code:
\usepackage{float}
Wrapping text around figures
We need the wrapfig package to pull this off as this will allow us to wrap text around figures. Here is how we can specify a wrapfigure environment:
\begin{wrapfigure}[lineheight]{position}{width}
...
\end{wrapfigure}
The {position} has parameter has eight possible values:
r | R | right side of the text |
l | L | left side of the text |
i | I | inside edge–near the binding (in a twoside document) |
o | O | outside edge–far from the binding |
The uppercase version allows the figure to float. The lowercase version means “exactly here”. Here’s an example code:
\documentclass{article}
\usepackage{graphicx}
\usepackage{float}
\usepackage{wrapfig}
\usepackage{blindtext}

\begin{document}

\begin{wrapfigure}{r}{0.25\textwidth} %this figure will be at the right
    \centering
    \includegraphics[width=0.25\textwidth]{image}
\end{wrapfigure}

\noindent \blindtext

\begin{wrapfigure}{l}{0.25\textwidth}
    \centering
    \includegraphics[width=0.25\textwidth]{image.jpg}
\end{wrapfigure}

\noindent \blindtext

\end{document}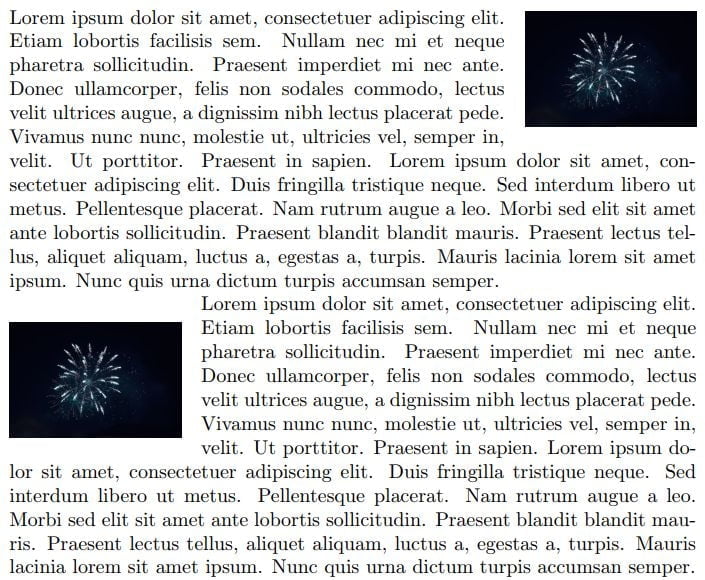
Best practices for figure placement in LaTeX
There are several factors to consider when choosing the right placement option for our figures in LaTeX:
- Page layout: The layout of our document should be taken into account when deciding where to place our figures. For example, if we are working with a document that has a narrow margin, it may be best to place our figures at the top or bottom of the page to avoid wasting space.
- Figure size: The size of our figure should also be considered when deciding where to place it. If our figure is very large, it may be best to place it on its own page to give it enough space to be legible. On the other hand, if our figure is small, it may be more visually appealing to place it within the body of the text.
- Figure relevance: The relevance of our figure to the surrounding text should also be considered when deciding where to place it. If our figure is closely related to a specific section of the text, it may be best to place it near that section.
- Figure placement options: There are several options for placing figures in LaTeX, including using the
figureenvironment, thefloatpackage, or thewrapfigpackage. Each option has its own benefits and drawbacks, so we should choose the one that best meets our needs.
Final thoughts
When it comes to working with figures in LaTeX, it’s important to consider the layout of your document, the size of your figure, the relevance of your figure to the surrounding text, and the various placement options available. With some careful planning and experimentation, you should be able to find the best placement option for your figures and create documents with a professional and visually appealing layout.
